
Getting Started with AWE Designer
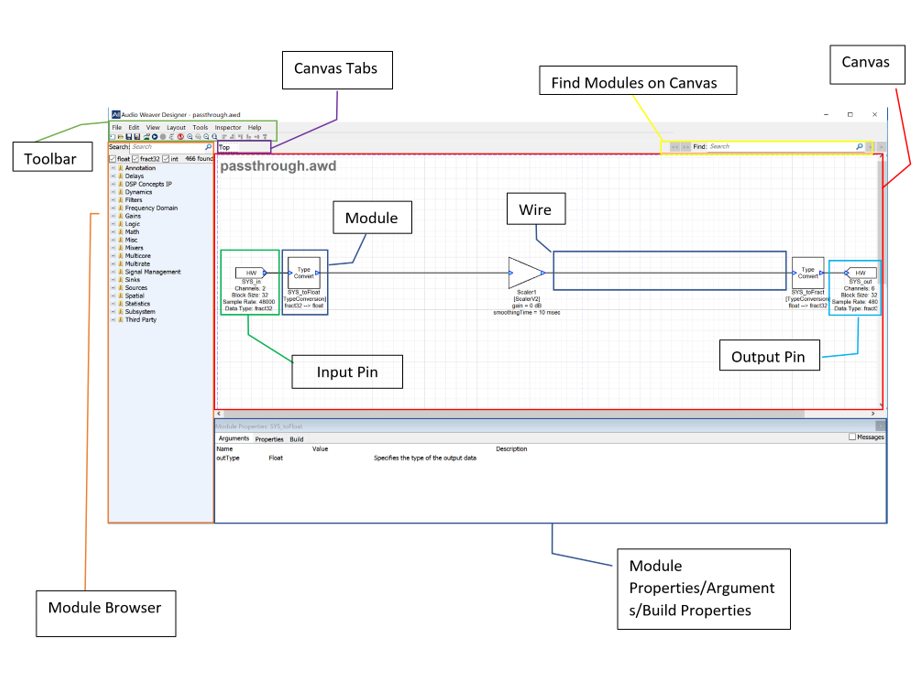
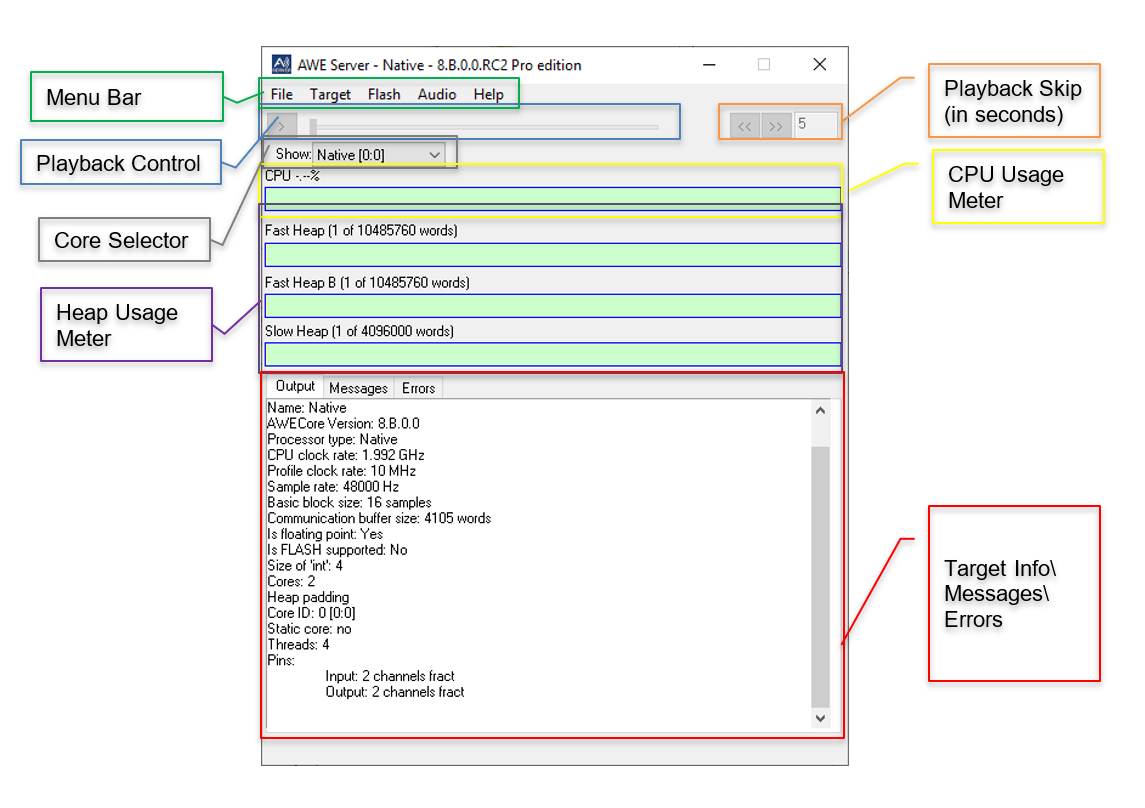
On start-up, AWE Designer launches two primary GUI’s that are used to create and run audio processing systems on hardware. The Audio Weaver GUI contains the canvas and modules needed to create the signal processing layouts, while the AWE Server GUI handles most of the target and audio IO interactions. By default, AWE Server is connected to the Native (PC) target. See the annotated diagrams below for descriptions of the layouts of the two GUI windows.
Audio Weaver Annotated Diagram
Server Annotated Diagram
Quick Start Usage
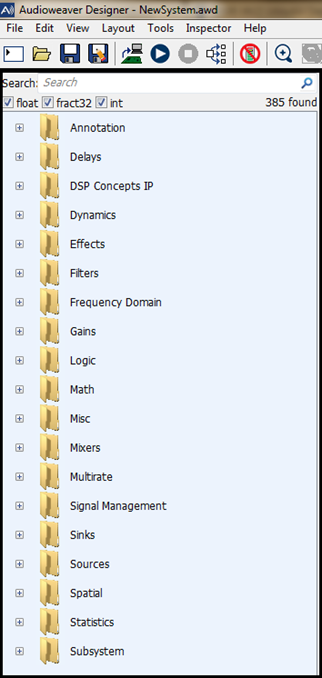
Modules are organized into libraries. Use the checkboxes “float” “fract32” and “int” to filter based on your appropriate processor. If you know the name of a module, use the search feature.
The module browser, seen to the right, is organized based on module functionality. Expand each section to see the individual module options.
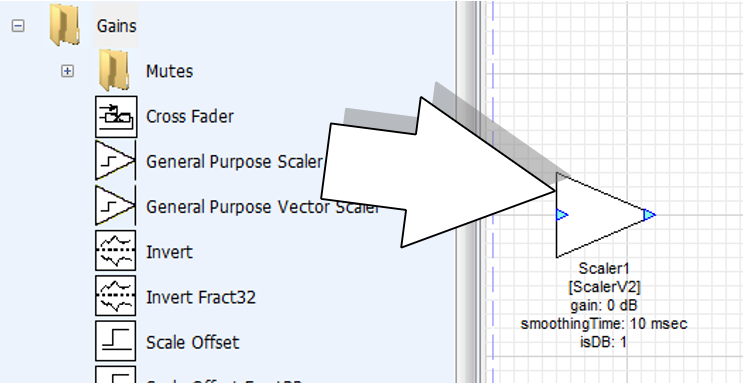
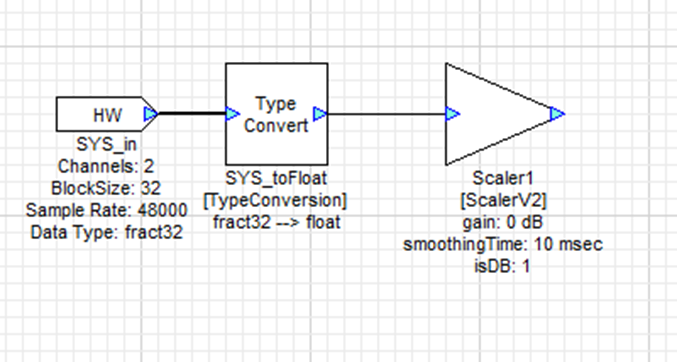
Drag and drop modules into the layout window
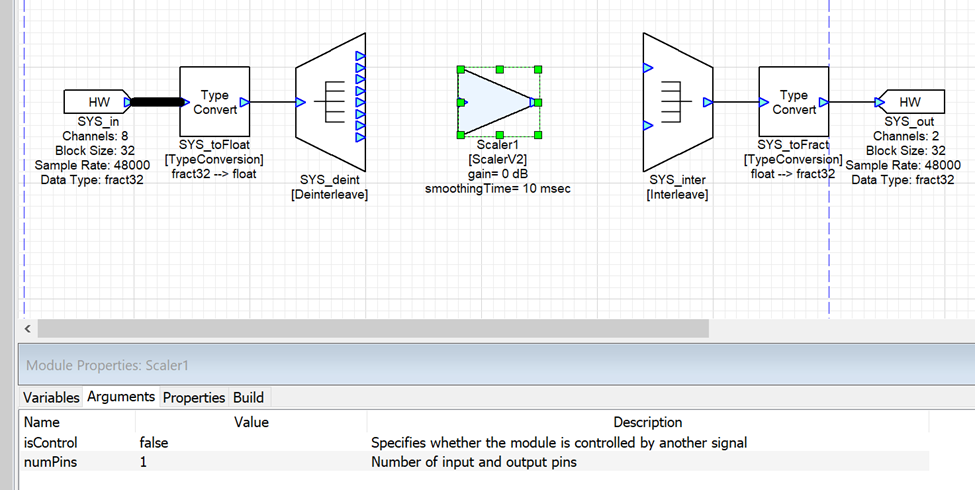
As you add new modules to the layout window, the ‘Arguments’ tab of the module properties will be shown on the bottom of the window. Here you can configure the module’s arguments: the properties that control how the module behaves, but that cannot be changed while the audio path is active.
You can prevent the GUI from automatically showing a new module’s argument tab by unchecking “Show New Module Arguments” under File->Global Preferences.
You can always configure a module’s properties by right-clicking on it.
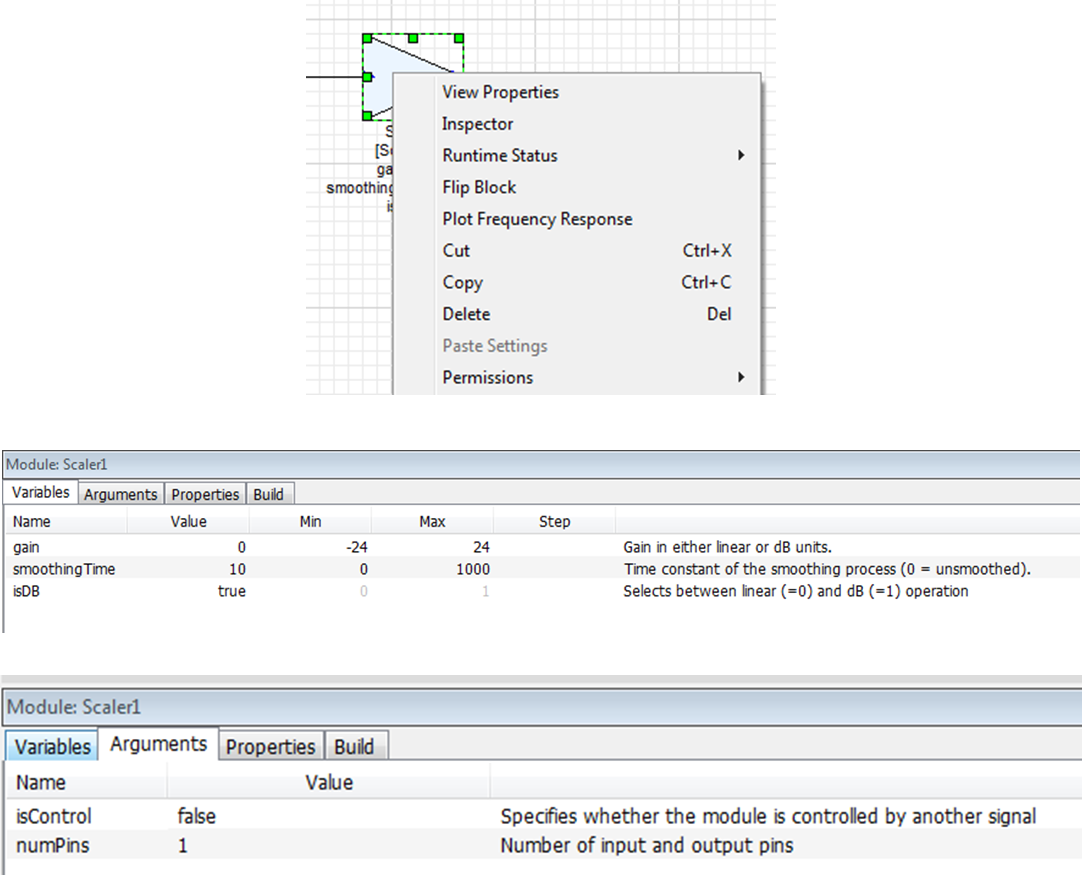
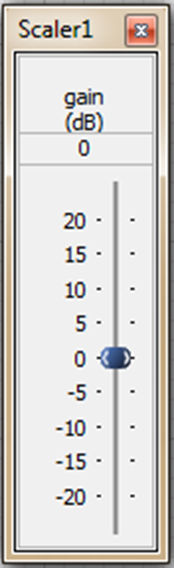
Inspector – Control any tunable parameters. Use at design time or tuning time.
Module Runtime Status – Activate, mute, or bypass a module.
View Properties (Variables) – Change the range of sliders and knobs
View Properties (Arguments) – Change at design time only. Configure items, like filter order, maximum delay time, or number of pins, which affect memory allocation or wiring
Wire your modules together by clicking your mouse on the output pin of a module and dragging it to the input pin of the next module. Note that a design will not run if any input pins are unconnected, but output pins may be left unconnected.
Redraw (Propagate Changes) to update wiring information
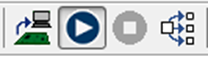
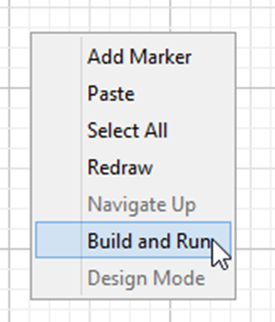
Build and run to start real-time processing
Tune in real-time using inspectors
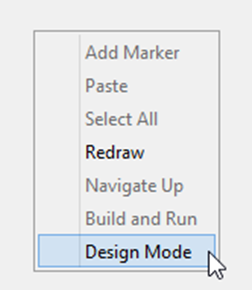
Return to Design Mode and keep editing
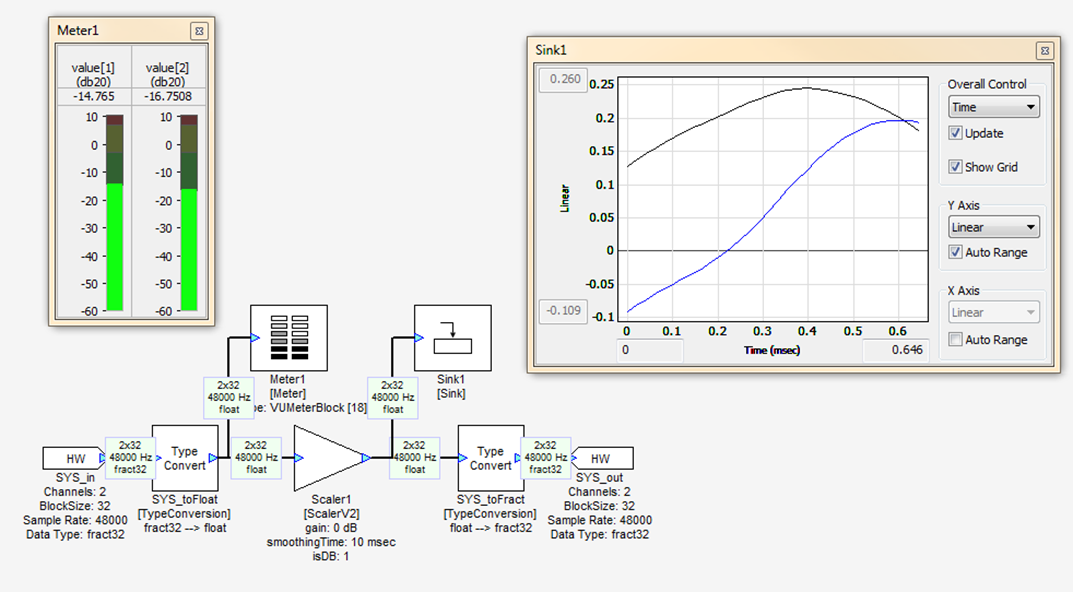
Add Sink and Meter modules to view signals. These are found in the Sinks folder.
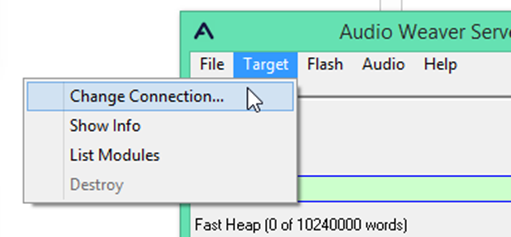
Switch to an embedded target using Server->Change Connection
Build and run to start real-time processing. Then profile the CPU load and memory using the ‘Tools>Profile System’ menu item. You can also check your overall CPU load / Heap usage with AWE Server.

Audio Weaver File Types
AWD
.AWD stands for Audio Weaver Design. This is the filetype for Audio Weaver Designer layouts. They can be loaded and saved from the Designer GUI. These files are only compatible with Designer on Windows and are not used on the target.
AWJ
.AWJ stands for Audio Weaver JSON, and is a representation of the entire Designer layout as loaded on the Designer canvas (similar to an .AWD). They can be loaded and saved from the Designer GUI by selecting the .AWJ option in the dropdown menu. Unlike .AWD’s, .AWJ’s represent the layout in human readable JSON. This means that .AWJ’s can be manually opened/modified in a texteditor.
AWJ’s contain the layout information stored within the Matlab GSYS structure, which is the backbone of Designer GUI (modules, connections, variables, properties, canvas positions, etc). For further detail on the GSYS/.AWJ fields, see the Audio Weaver Matlab API Document.
AWS
.AWS stands for Audio Weaver Script. When an Audio Weaver layout is run, a set of plain text commands are sent down to the target. These plain text messages are known as Audio Weaver scripting commands. The .AWS is the set of commands that makes up an Audio Weaver layout. An .AWS can be compiled into a binary (see below) or can be executed through the Audio Weaver Server. These commands can also be sent directly from Matlab (see the Matlab API document).
AWB
.AWB stands for Audio Weaver Binary. An .AWB is a compiled binary version of your layout. It can be loaded directly onto your target via a C array or via the flash file system. .AWB’s are most commonly used in production, as they can live directly on the target without any interaction with the PC. .AWB’s can be created right from an AWD via DesignerGUI’s Generate Target Files feature. An AWB can also be generated by using AWE Server’s Compile Script feature, where you compile an AWS into an AWB. AWB’s can also be sent to the target via the tuning interface.